Before You Give Fabric to a Tailor: A Ladies Suit Checklist
A reference photo is a useful start. Clear decisions about your fabric, fit and finishing make the stitching discussion much more productive.
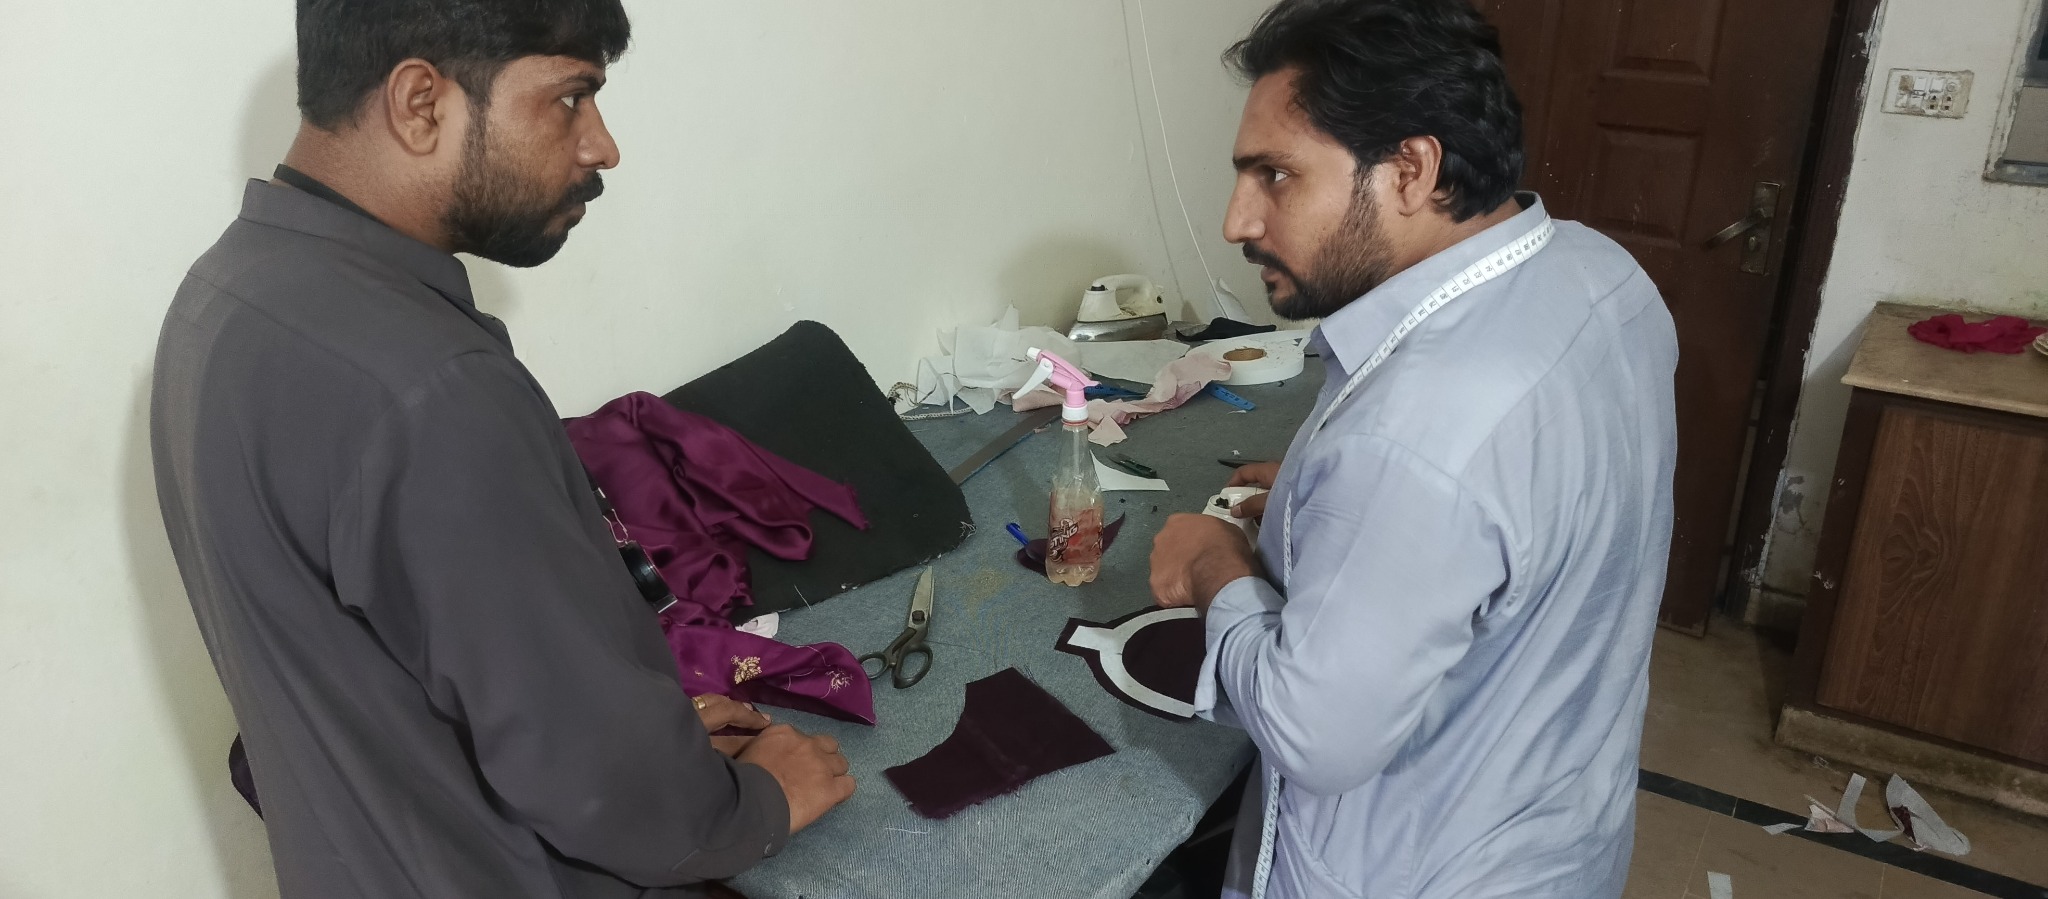
When you bring fabric for a ladies suit, the most useful preparation is to make your preferences clear before cutting begins. A photograph may show the front beautifully but leave the back, sleeve opening and fastening out of view. Fabric behaviour also affects what can be made. Use this checklist to prepare your own outfit, whether it is a simple suit or a more detailed formal design.
1. Check every fabric piece before handing it over
Unfold the material and identify the shirt, trouser or shalwar, dupatta and any separate borders or patches. Look for visible marks, damaged areas and uneven printing. Point these out before the fabric is cut; their position may affect the layout.
Bring all the pieces together. Fabric width, garment length, sleeve shape and print direction influence how much material a design needs. A flared sleeve or long shirt may require a different layout from a straight design. Ask the tailor to assess the actual material rather than relying on a fixed fabric quantity for every suit.
2. Discuss washing and shrinkage first
Some fabrics change after washing, so ask about preparation before cutting. Follow the fabric supplier’s care instructions. If the material can be washed, discuss whether it should be prewashed and dried before measurements are used to cut it.
Do not assume every embroidered, embellished or delicate fabric can be soaked at home. Where the care method is uncertain, check with the supplier or an appropriate cleaning specialist first. Tell the tailor if you have already washed the fabric and whether you noticed shrinkage or colour bleeding.
3. Turn a reference photograph into clear instructions
Choose one main reference and explain which parts you want to use: the neckline, sleeve, shirt shape or hem. If you are combining references, label each part. This avoids a situation where the tailor follows a feature you only intended as general inspiration.
Ask what is practical in your fabric. A design shown in a stiff material may hang differently in a soft fabric. Also confirm details the photo does not show, including the back neckline, zip or opening, side slits and sleeve cuffs. Discuss any proposed change before cutting.
4. Explain how you want the outfit to fit
A size label does not describe your preferred ease or length. Explain whether you want a relaxed or closer fit, and discuss the shirt length, sleeve length, trouser shape and waistband. Mention comfort requirements such as room for sitting and moving your arms.
If you supply a well-fitting garment as a reference, identify anything you want changed. Make clear whether a written number is a body measurement or a flat garment measurement, and use consistent units. Our measurement guide explains what to prepare; clarify uncertain measurements with the shop before cutting.
5. Agree on lining, lace and piping
Discuss whether the outfit needs lining for coverage, comfort or structure. Check the lining alongside the outer material: its colour and thickness can affect the final appearance. Confirm which parts will be lined and who will supply the material.
For lace or piping, agree on the exact placement and whether the colour should match or contrast. Check that enough trim is available for the selected neckline, sleeves and hem. If you are supplying buttons, patches or other accessories, list them with the fabric so nothing is assumed to be included.
6. Keep a short handover checklist
Before leaving the fabric, review these points with the tailor:
- Fabric pieces, borders and accessories received.
- Final reference design and any agreed changes.
- Measurements, units and fit preferences.
- Lining, lace, piping and fastening details.
- Stitching quotation and what it includes.
- Any fitting visit and the agreed completion arrangements.
If the outfit is for an event, give the event date when making the enquiry. Ask about availability before assuming a completion date, especially for detailed work or several suits.
Quick questions
Can a photo alone confirm the final result?
A photo helps communicate the look, but fabric, available material, construction and measurements still need to be discussed. Ask which details are achievable before approving the design.
Should I send a stitched suit as a sample?
A sample can help communicate your fit preference. Explain whether to follow it exactly or change specific measurements, and discuss handover or shipping arrangements with the shop first.
What if my fabric is not enough?
Ask about options before cutting. A different sleeve shape, length or panel layout may be possible, but any change should be agreed rather than assumed.